Who doesn’t love a little bit of behind-the-scenes insider? The team here at Rhino Piling definitely does. We thought it was time to switch things up around here, and that was when our Mini Piling series was born. We thought it would be interesting to start a Mini Piling series that consists of 6 parts. In each part, we go into great detail on some of the piling projects we have completed recently. From the lows to the highs, to the challenges and how we overcame them all, we are going to be covering everything in this mini-6-part series. Let’s get straight into part 1 of our new Mini Piling series!
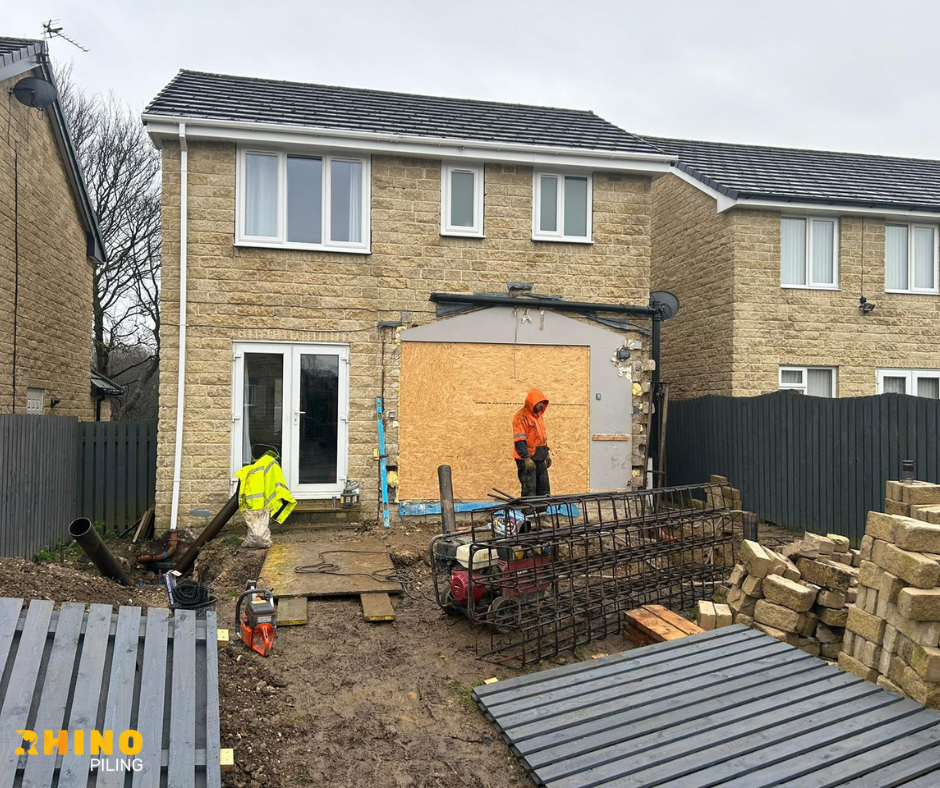
Part one of our series is all about the process of taking an extension, which was currently at the stage of being a hole in the ground, to a piled foundation with a concrete finish. This is a project that was completed in Mirfield and took a duration of 2 days to complete.
The first thing we do on any site, just like this one, is gather all the materials needed and set them up for the day ahead. This allows us to save an abundance of time so that we can focus on what really matters: The project at hand. The starting piling tube was a 2-metre-long tube with a crimped end. We put them in the trench and began to spread them out to roughly map the positions in which they would be driven. Throughout this process, we use a variety of tools and equipment, such as a petrol welder, which is used to weld piling tubes together. A Stihl saw, which is used for cutting, and so many other tools and equipment. By gathering all our tools and equipment for the day, we are able to minimise the amount of time spent going to and from our vans, ensuring we are as efficient as possible on site.
Make sure you stay tuned for part 2 of our Mini Piling series. For more information about the piling services that we offer here at Rhino Piling, please do not hesitate to get in touch today.