Rhino Piling is back at it again, coming at you with part 2 of our mini piling series. This time we will be taking you from the start to the finish of an extension piling project that we have recently completed in Wakefield. This project is part 2 of our 6-part mini piling series, where we take you through some of the recent piling projects we have fulfilled in great detail. We hope you all love this series as much as we love sharing the projects with you all. Let’s get straight into part 2!
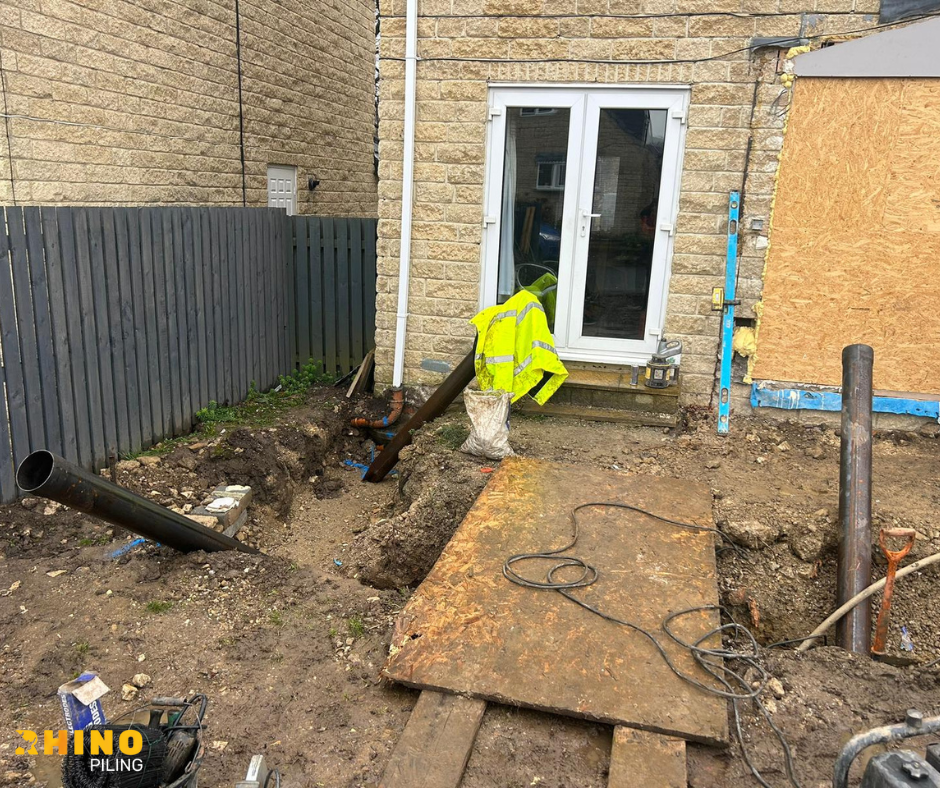
Part 2 of our mini piling series takes place in Wakefield at a piling extension job. In true Rhino style, we arrived at this project with all our materials and equipment in advance so that we could set up as soon as possible and crack straight on with the task at hand. We do this so no time is wasted on unnecessary trips to and from our vans. First, we started by placing the piles in accordance with the blue lines that were sprayed on the floor prior to our arrival. These blue lines were done by builders, and they are extremely important as they indicate where the centre line of the cavity is. This essentially means the exact middle point between the inside and outside walls. In the piling industry, accuracy and precision are vital to ensure that your foundation can stand the test of time. It is also important for the piles to be driven at the centre line of the cavity for optimal performance of the foundation.
We noticed that the blue lines that were done prior to our arrival were marked incorrectly, but we double-checked this before we began driving the piles. We strive for perfection with every job that we do, so we double-check everything before going ahead so that we can ensure 5-star service every time!
Be sure to stay tuned for part 3 of our 6-part mini piling series. To find out more about the piling services that we offer here at Rhino Piling, please do not hesitate to get in touch with us today!